How many worlds could a world generator generate if a world generator could generate worlds? Well, the answer is quite a few. In this blog post I’ll be going over some details about how the ProcGenesis world generator actually goes about its business in creating these worlds.
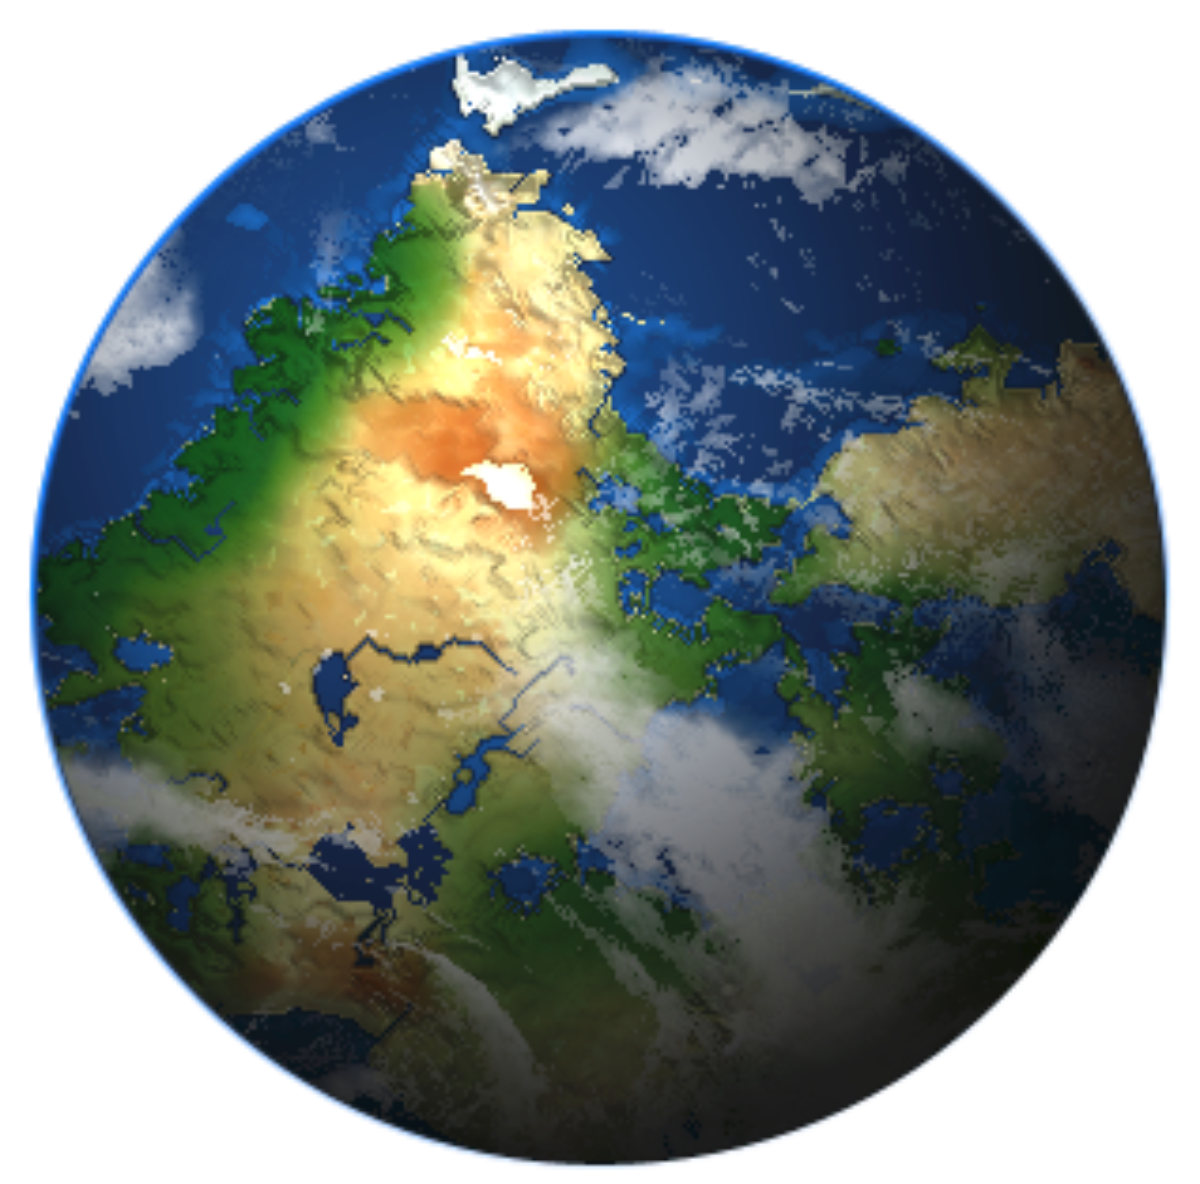
WorldGen is built with two major components in tandem: algorithms which very approximately reflect real world systems, like plate tectonics and erosion, and random coherent noise, specifically Perlin noise, which adds variation to the terrain and features of the map. These algorithms sometimes more accurately reflect the outcome of these real life systems than the processes that create these systems. These algorithms attempt to be decent (if broad) approximations, but when accuracy butts heads with aesthetics, aesthetics have usually been prioritized. Producing aesthetically pleasing and useful maps is the priority!
The basic flow goes something like this:
- Simulate tectonic plates and their boundaries
- Modify the elevation of the world based on these boundaries
- Simulate erosion on the terrain
- Generate a temperature map
- Generate a wind map and distribute moisture throughout the world based on this map
- Generate biomes based on temperature and moisture
- Generate a list of cities and their languages
But the devil is in the details as they say, so let’s dig a little deeper.
Whose Fault is it Anyway?
World generation begins with just a few, randomly chosen points which will each come to represent the location of a tectonic plate. These points are called Voronoi points, and form the basis of a Voronoi diagram. A Voronoi diagram is just the partitioning of a space into cells based on these points. Here’s an example:


Each Voronoi cell is simply the area in the diagram that is closer to a particular Voronoi point than any other Voronoi point. This partitions the map into regions, with each region representing a distinct tectonic plate.
The next step serves to make the plates look a bit more natural. Perlin noise is used to add turbulence to the borders of the Voronoi cells to create the more organic lines you see in the final Tectonic Plates view.
Then, the edges of these plates are extracted (so they can be referenced more quickly later) and each plate is assigned several attributes: a vector which describes where and how fast the plate is moving, a value which indicates whether the plate is continental or oceanic, and an average height value for the plate.
These vectors are then used to calculate the physical stress on each individual boundary between two plates. Currently, the algorithm treats all points in the same boundary equally (meaning the entire boundary will have the same stress value). The components of the force being applied both parallel and perpendicular to the movement of the two plates are calculated; the parallel force is considered the “direct” force – the force of the two plates colliding head-on, and the perpendicular force is considered the “shear” force – the force of the two plates sliding against each other.
If the shear force is greater in magnitude than the direct force, the boundary will be considered “transverse”, meaning the plates are primarily sliding against each other. Otherwise, if the magnitude of the direct force is greater than the shear force and the direct force is positive, the plates are colliding and the boundary is considered “convergent.” If the direct force is negative, the plates are pulling apart and the boundary is a “divergent” boundary. Each boundary type will affect the nearby terrain in different ways.

Making Mountains
In general, convergent boundaries push up terrain as plates collide into each other. Terrain on each side of the boundary will be pushed up depending on how close that terrain is to the boundary. Some noise is added so that the height of a newly created mountain range isn’t too uniform. Islands can be created this way as well when convergent boundaries occur below sea level.
Divergent boundaries lower terrain as plates pull apart, creating rifts and rift valleys in the landscape. If these rifts are low enough in altitude (below sea level), these rifts can fill (at least partially) with water. This can look like a series of clustered lakes on the surface.
Transverse boundaries can also push up terrain, although to a much lesser extent than convergent boundaries. The amount that terrain gets uplifted depends heavily on the amount of shear force between the plates.
Now, if there are any geologists out there reading this, I am truly sorry for the probable inaccuracy of the above and the shame that’s been brought upon your vaunted profession. But I hope you’ll find it in your heart to forgive: these terrain modifications are not intended to be scientifically accurate- they are very general approximations, and prioritize interesting maps over realism.
These terrain modifications are combined with the average height of the relevant tectonic plate and a layer of perlin noise (to add a bit of terrain variation) to create an (almost) final elevation value at that point.
Erosion Explosion
The final step of modifying the terrain is to simulate erosion.
How does one go about doing this? Well, there are plenty of ways, but the method that WorldGen uses I’d like to describe as “making it rain.” Essentially, a large amount of rainfall is simulated all over the world at once – the rain then follows its path of least resistance to the sea as it flows down the mountains, carving out bits of rock and earth along the way. The intensity of this erosion depends on the amount of water and the number of times the erosion simulation is run (these are the Erosion Factor and Erosion Iterations generation parameters respectively). You can even turn off erosion completely – just set the number of erosion iterations to 0.


How does the water flow down? The erosion algorithm checks each point, determines which of its neighboring points has the lowest elevation (including the height of the water itself), then flows toward that point. A small amount of terrain based on the amount of water flow is then eroded away. After this has been completed for the whole map over several iterations, the terrain is left with a more weathered, realistic look.
Next Time on the ProcGenesis Blog…
In Part 1, we went over the basics of how the terrain itself is generated. In Part 2, we’ll look at how temperature and moisture are generated, and how they are used to describe biomes.